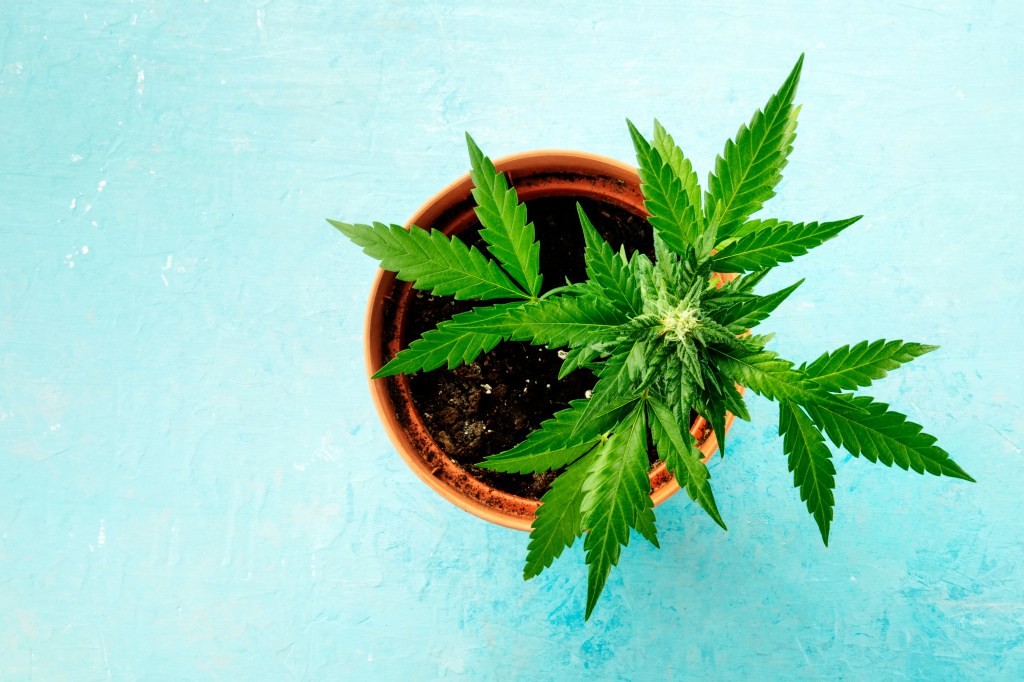
Growing your own cannabis is like cultivating your very own green thumb oasis. Not only is it rewarding to see your plants thrive, but it also offers a sense of independence and control over the quality of your product. Plus, let’s face it—there’s something undeniably satisfying about tending to your own garden of green. So, whether you’re looking to cultivate for personal use, therapeutic benefits, or just to add a new gardening challenge to your list, here’s a fun and detailed guide to planning and growing your very own cannabis garden.
Step 1: Check the Legalities
First things first—know your laws! In the U.S., cannabis laws vary widely from state to state. As of 2025, 23 states have legalized recreational cannabis use, and many more allow medical use. However, restrictions on home cultivation differ. For example, states like California allow adults over 21 to grow up to six plants for personal use, whereas others may limit cultivation to registered medical users only (California Department of Cannabis Control, 2024). Always double-check your local regulations before getting your hands dirty.
Step 2: Planning Your Garden Space
Cannabis can be grown indoors or outdoors, each offering unique advantages. Indoors, you have complete control over your plant’s environment—light, temperature, humidity—but you’ll need to invest in equipment like grow lights and ventilation systems. Outdoor growing is generally cheaper, harnessing the power of natural sunlight, but is subject to the whims of weather and pests.
Location is key. Cannabis loves sun, so if you’re planting outdoors, find a spot that gets at least 6-8 hours of direct sunlight per day. If you’re going indoors, a spare room or closet will do, as long as you can control the light cycle and maintain good airflow (Cannabis Training University, 2023). Don’t forget about privacy—your garden should be discreet if you have neighbors nearby.
Step 3: Choosing Your Seeds
Here’s where the fun really begins—picking your strains! There are hundreds of cannabis strains, each offering different effects, flavors, and growing requirements. For beginners, consider starting with hardy strains like Northern Lights or Blue Dream, known for their resilience and relatively forgiving nature. Indica strains are often shorter and bushier, making them ideal for indoor growing, while sativas can grow tall and thrive outdoors.
Make sure you’re buying seeds from a reputable source. Many online seed banks ship discreetly to ensure privacy and legality (High Times, 2024). Look for feminized seeds, which are guaranteed to produce the valuable female plants that bear buds, as opposed to male plants, which are often culled to prevent pollination.
Step 4: Germination and Planting
The germination process is straightforward—think of it as “waking up” your seeds. A popular method is to place seeds between damp paper towels for a few days until they sprout tiny roots. Once sprouted, they’re ready to be transferred into soil or your chosen medium.
Cannabis prefers well-draining soil rich in organic matter. Many growers swear by soil mixes that include ingredients like compost, perlite, and coconut coir. If you’re growing in pots, start small and transplant as your plants grow.
Watering is crucial—too much can lead to root rot, while too little will cause wilting. Aim to keep the soil consistently moist but not waterlogged, and be aware that cannabis has a sensitive pH range, preferring slightly acidic soil (pH 6.0-7.0).
Step 5: Lighting, Nutrients, and Maintenance
Cannabis is a light-loving plant, so if you’re growing indoors, invest in good-quality LED or high-pressure sodium (HPS) lights. The light cycle is vital—young plants need about 18 hours of light a day, while mature plants in the flowering stage need about 12 hours of light (Cannabis Grow Bible, 2024).
Nutrients are another essential aspect of growth. Cannabis plants require a balanced mix of nitrogen, phosphorus, and potassium, along with micronutrients like calcium and magnesium. You can buy specialized cannabis fertilizers or make your own organic compost.
Step 6: Harvesting Your Buds
After months of care, your cannabis plants will start showing signs that they’re ready for harvest. Look for buds that are dense and coated with trichomes (tiny, crystal-like structures). A magnifying glass can help you see the color of the trichomes—when they turn from clear to a milky white, it’s usually a good indicator that they’re ready (Ed Rosenthal, 2024).
Cutting, drying, and curing your buds properly is essential to ensure the best flavor and potency. Trim the buds, hang them upside down in a dark, ventilated space for a week or two, and then cure them in glass jars for a few more weeks. Patience pays off in the end!
Final Thoughts
Growing cannabis is more than just a hobby; it’s an art and a science that can be incredibly rewarding. With the right planning and care, you’ll enjoy the fruits of your labor—literally. And whether you’re in it for the relaxation, the therapeutic benefits, or just the satisfaction of growing your own, there’s nothing quite like harvesting your own cannabis garden.
So, roll up your sleeves, put on your gardening gloves, and start planning your own cannabis adventure. Happy growing!
Sources:
- California Department of Cannabis Control. (2024). “Cannabis Cultivation Regulations.”
- Cannabis Training University. (2023). “Indoor vs. Outdoor Cannabis Growing.”
- High Times. (2024). “Top 10 Cannabis Strains for Beginners.”
- Cannabis Grow Bible. (2024). “Light Cycles for Cannabis Growing.”
- Ed Rosenthal. (2024). “The Complete Guide to Cannabis Harvesting and Curing.”
<
