

9to5Mac Security Bite is exclusively brought to you by Mosyle, the only Apple Unified Platform. Making Apple devices work-ready and enterprise-safe is all we do. Our unique integrated approach to management and security combines state-of-the-art Apple-specific security solutions for fully automated Hardening & Compliance, Next Generation EDR, AI-powered Zero Trust, and exclusive Privilege Management with the most powerful and modern Apple MDM on the market. The result is a totally automated Apple Unified Platform currently trusted by over 45,000 organizations to make millions of Apple devices work-ready with no effort and at an affordable cost. Request your EXTENDED TRIAL today and understand why Mosyle is everything you need to work with Apple.
One of the greatest benefits of Touch ID on Mac is rarely having to type your password when making purchases, signing into apps, and, of course, unlocking the device. It might be ancient technology to the iPhone at this point, but it continues to be a default luxury on Mac. If you frequent Terminal, you’ll be glad to know you can also authenticate as administrator with Touch ID for all the sudo goodness with one tap.

The ability to use Touch ID for sudo has been around for years. It takes 60 seconds to set up and requires us to make just one edit to a system configuration file on macOS. Painfully, until Sonoma, Apple would revert these changes with every new release of macOS, requiring the user to again type the sudo password to authenticate. I’m going to show you how to implement Touch ID for sudo in a way that won’t be overwritten.
As a reminder, Apple stores Touch ID data the same way as Face ID: locally on the device with AES-256 encryption and processed by the Secure Enclave only when it’s needed. It is never sent to Apple servers or backed up to iCloud. In fact, data is not even accessible to the operating system. The Secure Enclave simply returns a “yes” or “no” if the authentication is successful.
How to enable Touch ID for sudo
I’m using macOS Sequoia 15.4, but this will work on any version of macOS after 10.15 Catalina for Macs with that magical fingerprint sensor in the top right of the keyboard. I’m using Terminal, but this should also work on any emulator that supports the Pluggable Authentication Module (PAM).
1. Copy and create new configuration file
First, copy the default template configuration file provided by Apple and create a new one called sudo_local. We copy the template file instead of modifying it directly to ensure that it doesn’t get overwritten when the version of macOS drops.
sudo cp /etc/pam.d/sudo_local.template /etc/pam.d/sudo_local

2. Edit the sudo_local file
Next, open the newly created sudo_local file with your preferred text editor. Nano is my fav (:
sudo nano /etc/pam.d/sudo_local
In the file, uncomment the line containing pam_tid.so by removing the #. Hit “Allow” on any system prompts that may appear.

4. Touch but verify
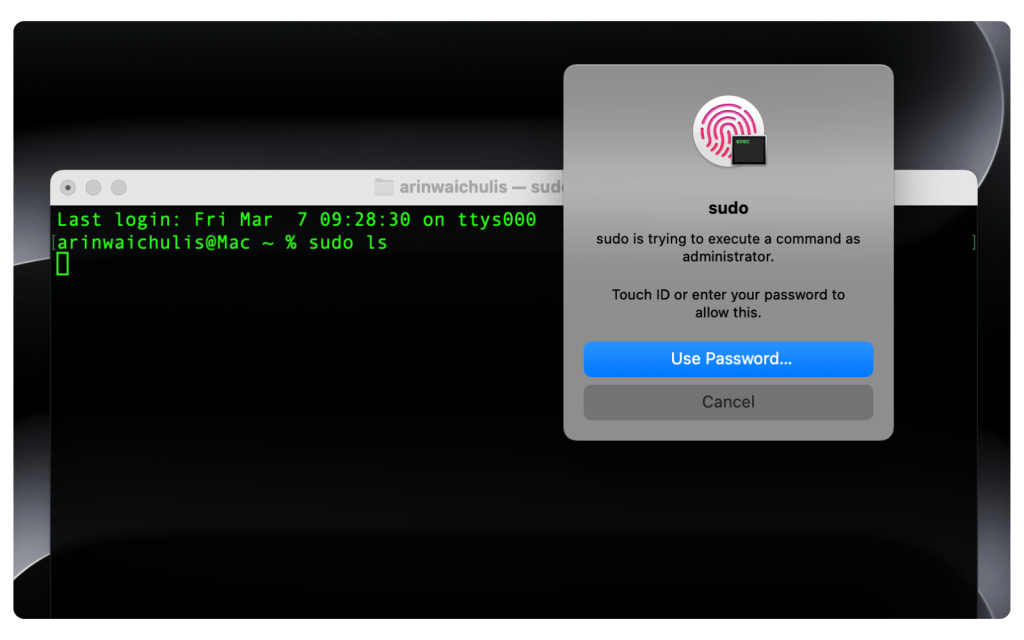
That’s it! Now, let’s verify that it works. Open a new Terminal session and run a sudo command to test the setup. You’ll now get a prompt to use Touch ID for authentication instead of typing your system password out. You can revert back to typing in your password by simply commenting the auth line we uncommented in step 3.
Enjoy! 
Follow Arin: Twitter/X, LinkedIn, Threads
FTC: We use income earning auto affiliate links. More.
<